This document lists some of the most important functions available with the SpinWheel code library. With these functions you can detect motion and set the LEDs to different color patterns. If you have never programmed with Arduino before, be sure to read our Initial Setup Guide and guide on the basic structure of a program. To learn more about the building blocks of coding, check out the coding building blocks page. For more details, you can consult the annotated source code, listing everything available in the library. This will serve as a reference as you code the SpinWheel in whatever designs you imagine.
You can use the virtual SpinWheel simulator to test each of these functions. If a function involves the motion sensor, you can grab the virtual device with your mouse and shake it, simulating how the physical sensor would respond to real motion.
LED Manipulation
Turn on LEDs with ‘drawFrame()’
Below we will introduce a number of functions that let you control the LEDs. However, for the LEDs to change in brightness to relect these functions, you also need to call drawFrame() when you are done. drawFrame is the only “non-instantaneous” functionCommonly called “blocking” functions.. It takes roughly 20ms for it to finish, during which time it uses a persistent of vision method to rapidly flash the small LEDs as necessary to mimic the required color. This lends itself to making 50 frames-per-second animations. By using drawFrame() you can make multiple modifications, preparing the final image, without the intermediate unfinished images showing up.
Turn off all LEDs with SpinWheel.clearALLLEDs()
If you want to reset the image, you can call SpinWheel.clearAllLEDs(), which will set all LEDs to be dark, deleting any color information that they were previously set to.
Turn on all the Large LEDs with setLargeLEDsUniform
setLargeLEDsUniform takes three arguments, the red, green, and blue components of the desired color. Their range is between 0 and 255 (one byte).
void loop() {
}
Turn on all the Small LEDs with setSmallLEDsUniform
setSmallLEDsUniform, same as setLargeLEDsUniform, takes three arguments, the red, green, and blue components of the desired color. Their range is between 0 and 255 (one byte).
void loop() {
}

Control a Specific Large LED with setLargeLED
The first argument of setLargeLED is a number between 0 and 7, denoting which of the 8 LEDs is to be turned on. See the above diagram for the numbering system. The other three arguments are the red, green, and blue components of the color.
void loop() {
}
Control a Specific Small LED with setSmallLED
The first argument of setSmallLED is a number between 0 and 11, denoting which of the 12 LEDs is to be turned on. The other three arguments are the red, green, and blue components of the color.
void loop() {
}
Turn on a range of Large LEDs with setLargeLEDs
The first and second arguments of setLargeLEDs are numbers between 0 and 7, denoting what range of the 8 LEDs is to be turned on. The other three arguments are the red, green, and blue components of the color.
void loop() {
}
Turn on a range of Small LEDs with setSmallLEDs
The first and second arguments of setSmallLEDs are numbers between 0 and 11, denoting what range of the 12 LEDs is to be turned on. The other three arguments are the red, green, and blue components of the color.
void loop() {
}
Set color using a single hex variable
All of the above functions can be used with a single color variable in the standard hex notation.
void loop() {
}
Set overall brightness with setBrightness
This function takes only one argument, between 0 and 255, that sets the brightness of the LEDs. At maximal settings the large LEDs are blindingly bright and pull a total current of 480 mAh, which would deplete our battery in less than 10 minutes. Using the maximal setting would cause the battery to wear out much quicker and would cause significant heating.
Custom LED Patterns
Thanks to these functions you can easily set all of the LEDs to a preset pattern. They are useful building blocks for commonly used patterns that do not require significant customization. These functions are not implemented in the SpinWheel simulator yet.
Rainbow pattern with setSmallLEDsRainbow
This function takes only one argument, between 0 and 255, that determines where a rainbow pattern in the small LEDs starts. For instance, if you use setSmallLEDsRainbow(0), the start of the rainbow will be at small LED 0. To start the rainbow a half turn around the SpinWheel, instead use setSmallLEDsRainbow(125).
Circular progress bar with setSmallLEDsProgress
You can use this to create an arc around the SpinWheel with the small LEDs. It has four arguments: an angle that specifies the extent of the arc, and the red, green, and blue LEDs brightness. Each goes from 0 to 255. To have an arc that lights up LEDs 0-9 in blue, use setSmallLEDsProgress(200, 0, 0, 255). You can also provide only two arguments, the angle and an rgb color.
Circular pointer with setSmallLEDsPointer
This is similar to the above function, but instead you can specify the middle of the arc. To use our default arc length (check out our annotated source code), simply specify the angle for the middle of the arc (0-255) and the color (either the red, green, and blue components individually or as rgb).
Color and Brightness Helpers
Various functions that help prepare colors or map a given number to a continuously changing brightness. A good place to see why these functions are useful is the set of lessons on animations.
A colorWheel
The colorWheel function turns a single number representing an angle into a color from the color wheel.

void loop() {
}
The triangularWave function creates a pulsing pattern
The triangularWave function provides a convenient periodic function, useful in animations.
void loop() {
}
The parabolaWave function creates another pulsing pattern
Similar to the above function, the parabolaWave function creates a different periodic function based on the profile below.

Motion Sensing and Compass with readIMU
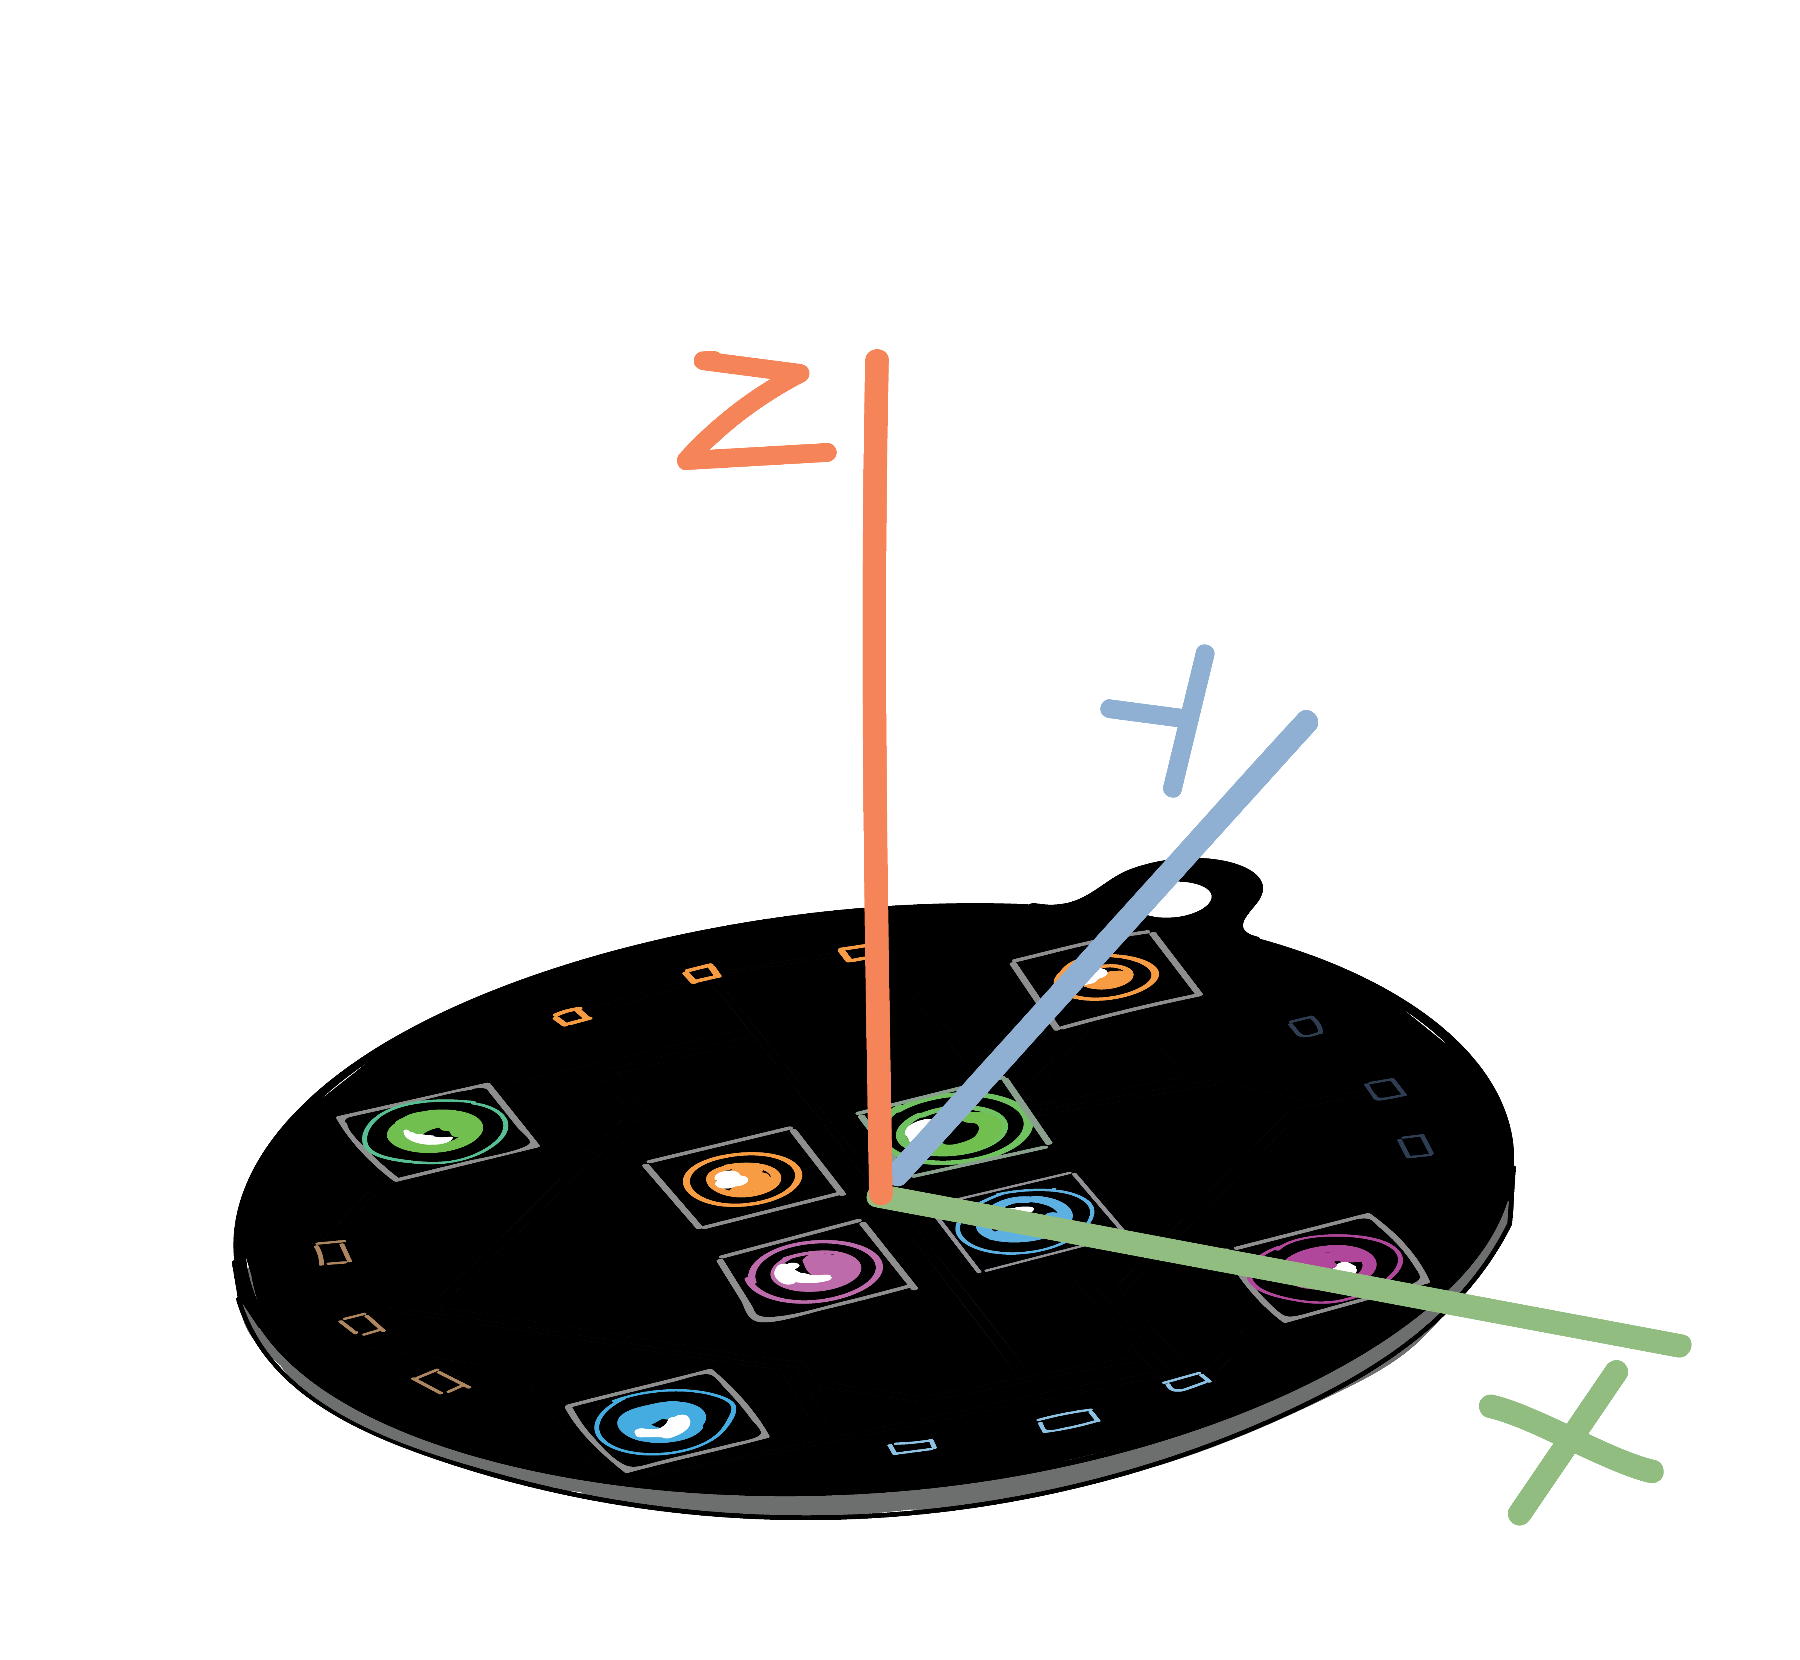
To request measurements from the sensor you need to call readIMU. Then the measurement data will be available in ax,ay,az,gx,gy,gz,mx,my,mz. The acceleration along the three axes ax, ay, az is measured in units of \(g\), i.e. the standard gravitational acceleration at Earth’s surface. The angular velocity components gx, gy, gz is measured in units of degrees per second. Lastly, the magnetic field mx, my, mz is measured in units of μT. There is also a temperature sensor, but we do not yet provide direct access to it.
The Dancing with Color adventure gives ideas of how the sensor can be used.
Advance direct use of the hardware, bypassing the SpinWheel
You can consult the begin, readIMU, drawFrame, setLargeLED, and setSmallLED function in our source code to see how to use the motion sensor, small LEDs, and large LEDs, without relying on the SpinWearables library.
The button is attached to pin 7, and you can use digitalWrite(7, INPUT_PULLUP) to set it up. Then you can use digitalRead(7) to read the button directly or attachInterrupt(digitalPinToInterrupt(7), callback, FALLING) to set up an asynchronous callback.
